
Dave Sung's Rendering Ltd
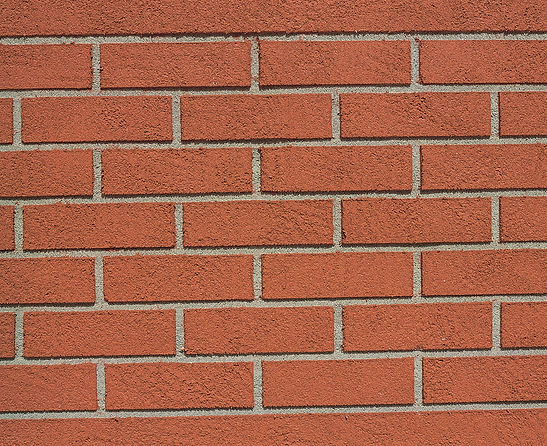

Brick Render
Brick rendering, or brick-effect render, offers an excellent solution for replicating the appearance of brickwork. It is ideal for creating soldier courses, brick quoins, and other decorative finishes. Our brick rendering is perfect for projects where traditional brickwork cannot be used or when updating a property to achieve a modern brick-like aesthetic.
At Dave Sung's Rendering Ltd, we specialize in all aspects of brick rendering. With an extensive range of textures, patterns, effects, and colours to choose from, we can transform your home with a stunning, water-repellent, and easy-to-clean finish that leaves a lasting impression.
Choose from smooth or textured finishes, with a variety of colours to complement your property and create a unique, standout appearance or seamlessly blend with the surrounding environment.
Our brick render service offers a cost-effective way to modernize the look of your home and achieve a stylish, contemporary finish. Learn more about the brick rendering process and how we can help you below:
Our Brick Render Application Process
2
3
4
5
6
7
8
9
10
1
11
Protecting Your Property
Once scaffolding is in place, we take steps to safeguard your property. This includes taping up windows to protect the glass and frames from scratches or staining. Rainwater pipes are detached and, if necessary, redirected to prevent wash-offs during rendering. Waste pipes remain connected to the drainage system but are securely taped for protection. Additionally, driveways, patios, flagged areas, and gardens are fully sheeted to prevent any damage.
Surface Assessment & Preparation
Before applying any render, we assess whether the existing render needs to be removed. If the render is hollow, it will be removed using a hammer drill. However, if it is solid, we will leave it intact to avoid potential structural damage, such as loosening bricks or damaging the face of the brickwork or breeze blocks.
Basecoat Application & Reinforcement
If the existing render is removed, the substrate will be thoroughly inspected, brushed down, and cleared of dust or debris. A 10mm high-polymer basecoat render is then applied to level out any hollow or high spots. A fiberglass reinforcement mesh is embedded into the basecoat while still wet, positioned no deeper than the top few millimeters. This prevents surface cracks and enhances durability. Stress patches (300mm x 300mm mesh pieces) are applied at a 45-degree angle to the corners of windows, doors, and openings to prevent cracks caused by settlement or expansion.
Beading Installation
Mesh beads are installed around windows, doors, and corners to ensure clean, sharp edges. Bell cast beads (drip beads) are securely fixed along the damp course using mechanical fixings. Expansion beads are installed over vertical movement joints to accommodate any structural movement and minimize cracking.
Dash Receiver & Pebble Application
A 10mm coat of dash receiver (high-polymer dashing mortar) is applied and trowelled smooth to create a flat surface. Once an appropriate area is covered, pebbles are applied using the traditional bucket-and-shovel method to achieve the desired finish.
First Coloured Mortar Coat
The first layer of coloured mortar is applied at an 8mm thickness and trowelled flat, resembling the mortar joints of traditional brickwork. Extra attention is given to corners, ensuring precision using a darby tool to maintain sharp edges. The surface is left to partially harden before being dry-trowelled to remove any high spots and trowel lines.
Final Coat & Texturing
Once the first coat has dried sufficiently, a 4mm thick final coat is applied over the entire surface. This layer forms the brick face and is available in a variety of colours. While still wet, the surface is textured according to the client’s preference—options include brushed, dragged, or stippled effects using specialized tools.
Curing & HardeningThe render is left to fully harden before the final detailing process begins.
Marking & Cutting Brick Joints
Once set, the render is precisely marked out for horizontal bed joints at 2-3 meter intervals using a specialist marking tool. These marks are joined using a straight edge, and the bed joints are cut using either an 8mm or 10mm cutting tool, depending on the client’s preference. After the bed joints are completed, the head joints (vertical joints) are measured and cut accordingly, creating the desired brick pattern.
Scaffolding Installation
If required, to ensure full access to your property, we typically will arrange for scaffolding to be installed before work begins, collaborating only with reliable, professional companies to manage this process efficiently.
Final Brushing & Finishing
The entire wall is carefully brushed with a soft brush to remove any loose render from the cutting process. The result is a clean, precise, and natural-looking brick effect render, enhancing the aesthetics and durability of your property.